The following ten steps is a “spa treatment” for your car. All of the steps are necessary to make your car clean on the inside and on the outside, but more than that, to make sure your car lasts. Dirty Details takes no short cuts because there are no short cuts when it comes to ensuring a quality detailing experience.
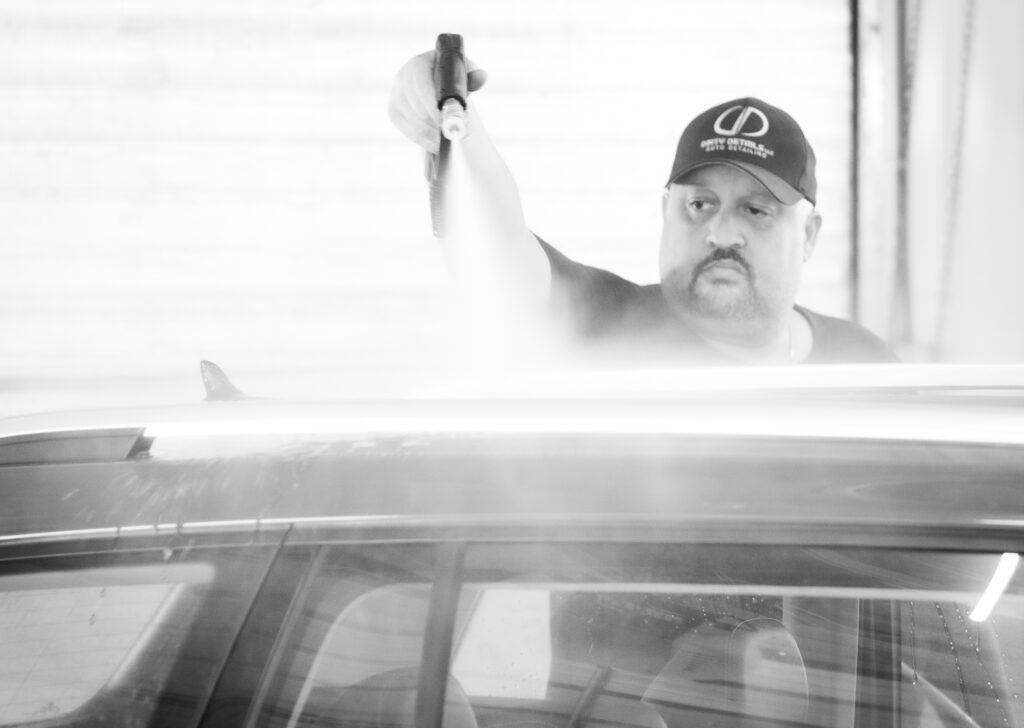
Step #1, The vehicle is inspected to determine if the current condition of the vehicle would require additional steps (abundant pet hair as an example). Once the inspection is complete the outside of the vehicle is then rinsed to remove any loose debris. This also serves as a base for the step to follow.
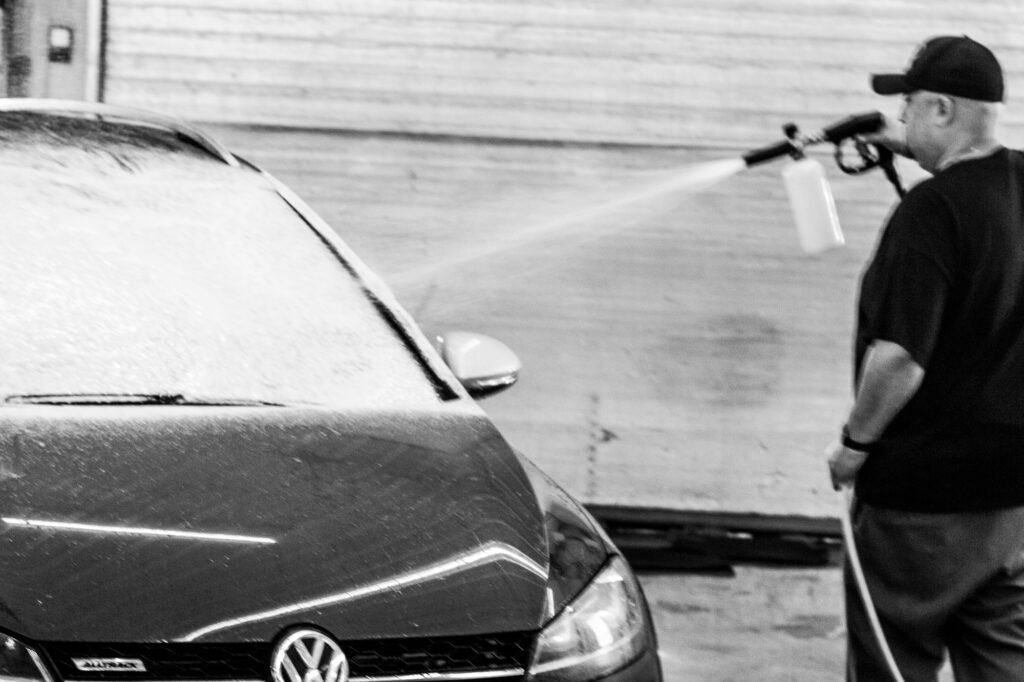
Step #2, After rinsing the vehicle a foam gun is used to cover the entire car in a soapy film. The foam gun creates lots of suds which allows the foam to cling to car while at the same time use less soap. Less soap allows for better rinses and less of a chance of creating water spots. The foam contains cleaning agents to loosen stubborn grease and dirt.
Step #3, After foaming, time is given to allow the cleaners to remove dirt, debris, pollen, and other contaminants. Unlike some car washes, Dirty Details uses foam cleaners that will not discolor or dry out any of the vehicle’s trim.
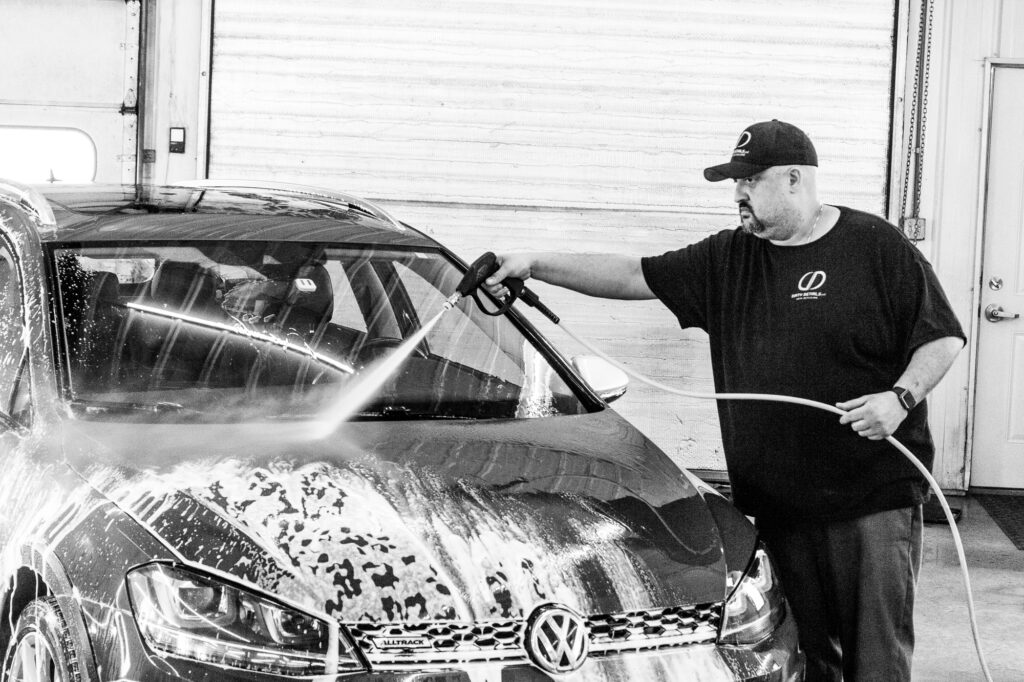
Step #4, Before any of the foam is allowed to dry, the car is rinsed again to remove all of the foam. The foam and repeated rinses are very effective in removing tar, bugs and grease from the car. The cleaning of the auto continues in the next step.
Step#5, At this stage Dirty Details uses the “Two Bucket Hand Washing Method”. This deep cleaning process is often used at detailing shops. It includes the following steps:
Two buckets are filled with hot water, car wash soap is mixed into one bucket, and the other bucket is filled with just water. Grit guards are placed into each bucket.
A wash mitt is dipped into the soapy water bucket, then a portion of the vehicle is washed.
The dirtied mitt is placed into the rinse bucket, rubbing the mitt against the grit guard so that the contaminants rub off and sink below the grit guard.
The next step is to wring out the cleaned wash mitt.
The wash mitt is dipped into the soapy water bucket again in order to wash another portion of the vehicle.
This cycle is repeated until the car is finished.
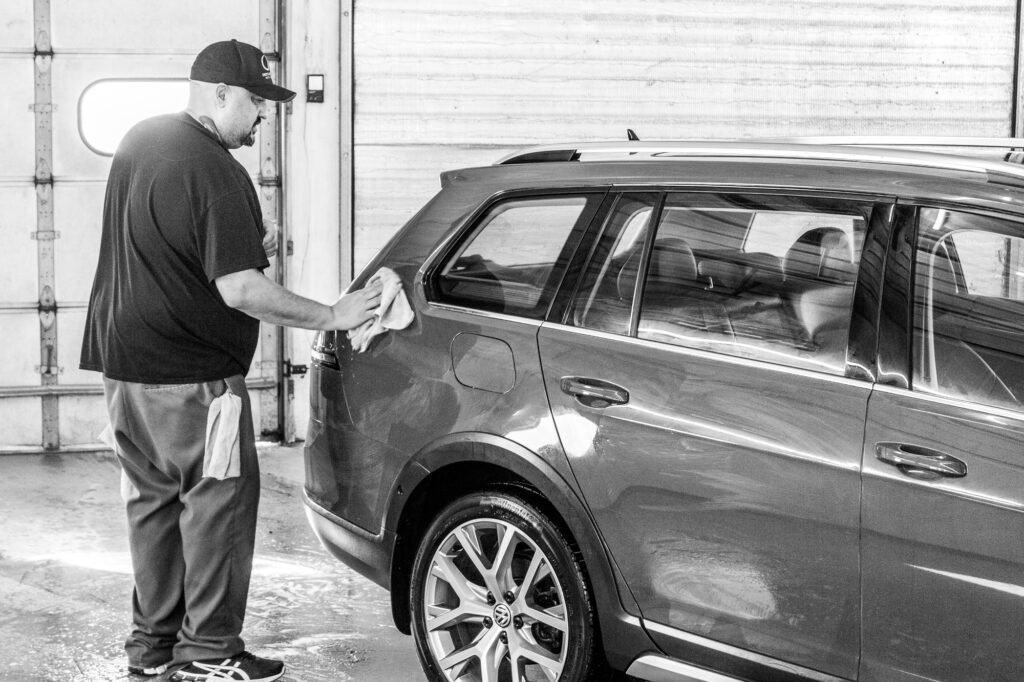
Step #6, The Two Bucket Wash Method is followed by another rinse. The car is then allowed to dry. The drying is aided by clean dry rags and sometimes with compressed air. While the vehicle dries the detailing process moves to the interior.
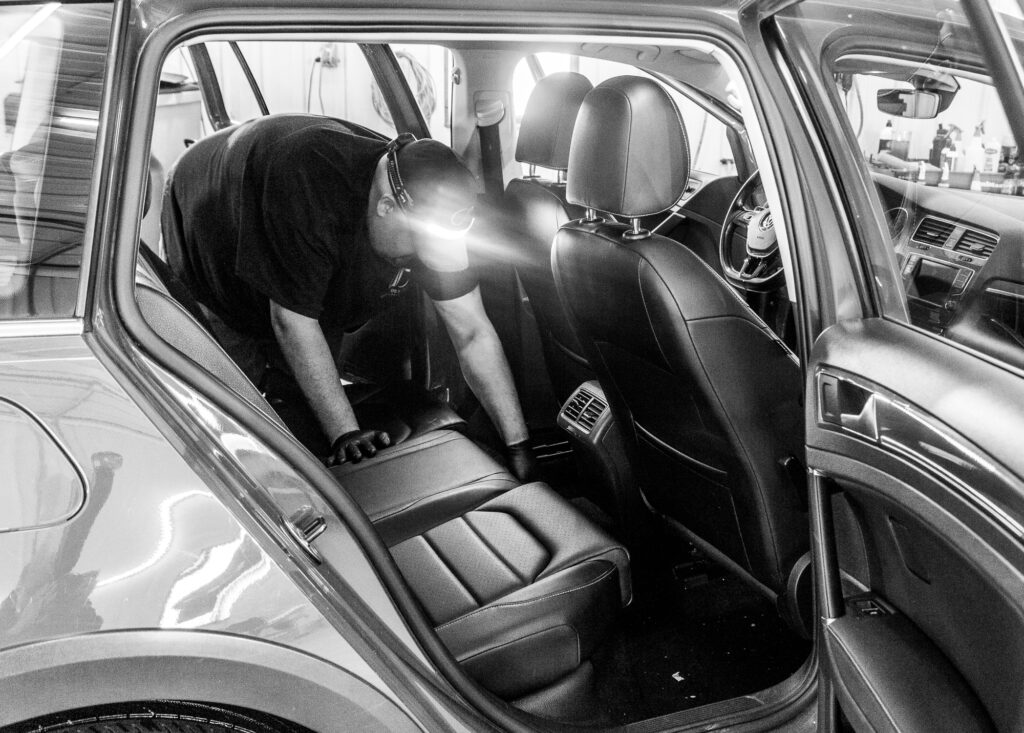
Step #7, Prior to vacuuming the interior, compressed air is used to remove any loose debris from the pockets and crevices inside the car. Compressed air is also used to blow out any dust or debris in the car vents. In addiotion, all carpeted areas are vacuumed. If warranted, the carpets and/or upholstery would be shampooed for an additional fee.
Each of the front seats are moved to vacuum more of the interior carpeting. In addition to vacuuming in the seating area the rear cargo area is also vacuumed. All seats are cleaned and conditioned. The dash and center console area is cleaned and dressed.
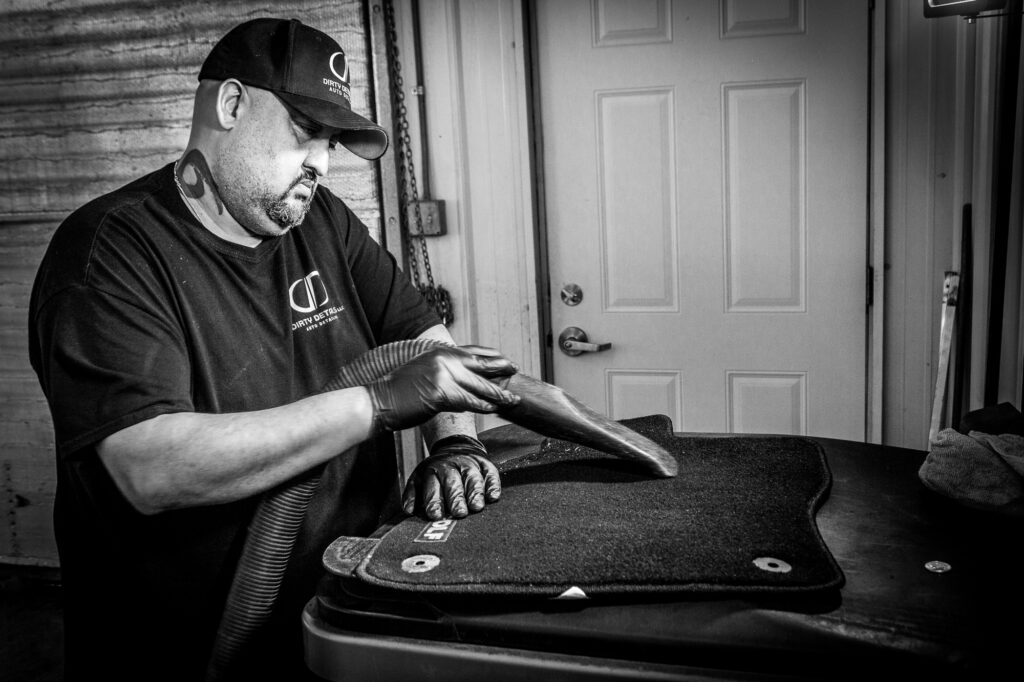
Step #8, earlier on in the process vinyl floor mats are removed from the car. In this step the mat’s crevices are blown with compressed air. This is followed with washing and rinse. Carpeted mats are removed, vacuumed and placed back into the vehicle.
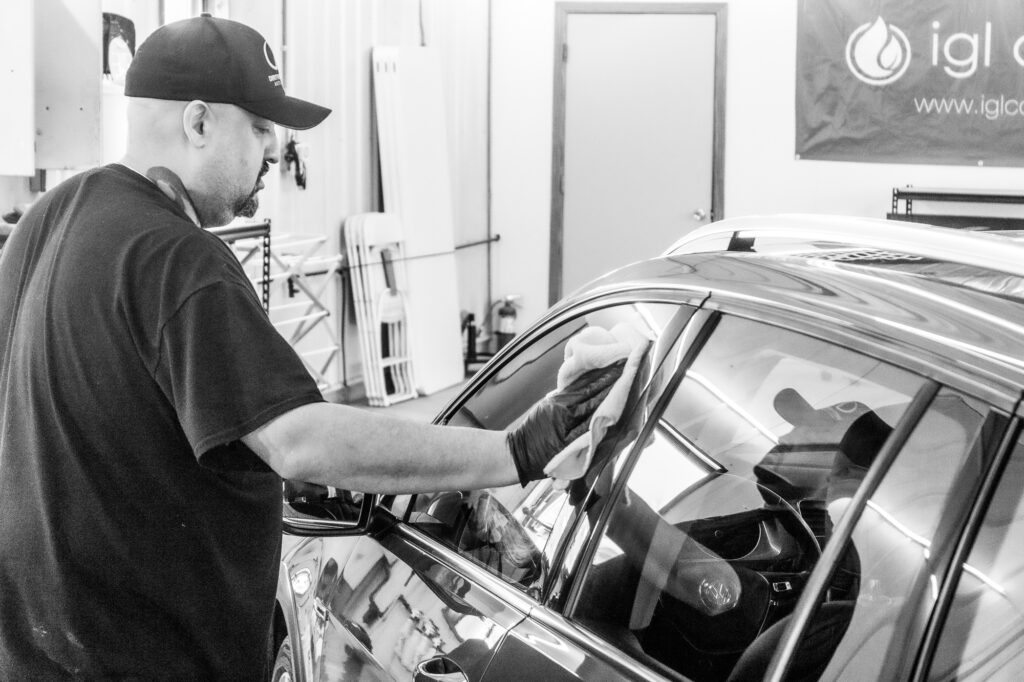
Step #9, the detailing returns to the exterior of the vehicle when a spray wax is applied to the car. This wax will provide for four months of protection not only to the painted areas but to the car’s glass as well. The car is hand buffed to a mirror-like shine.
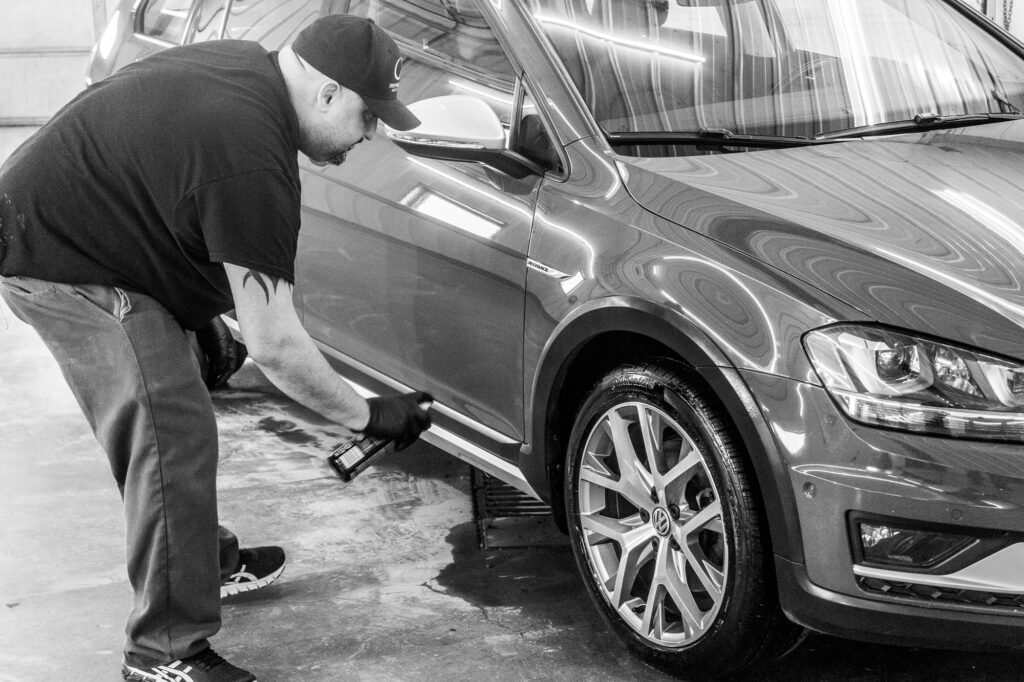
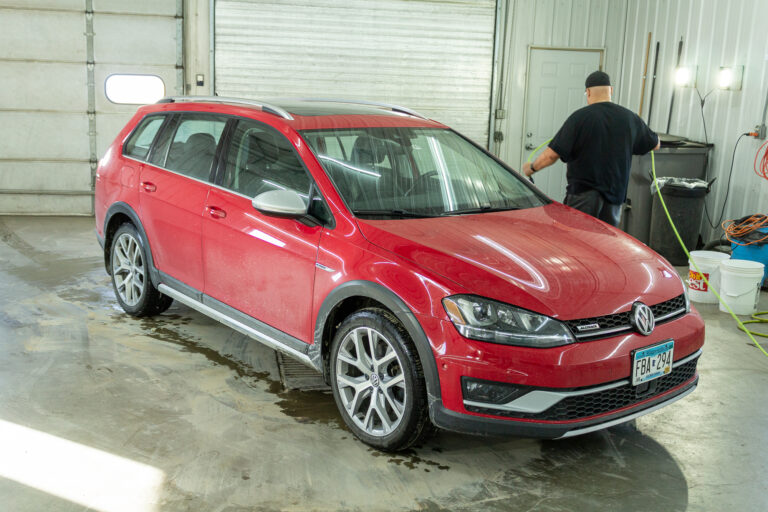
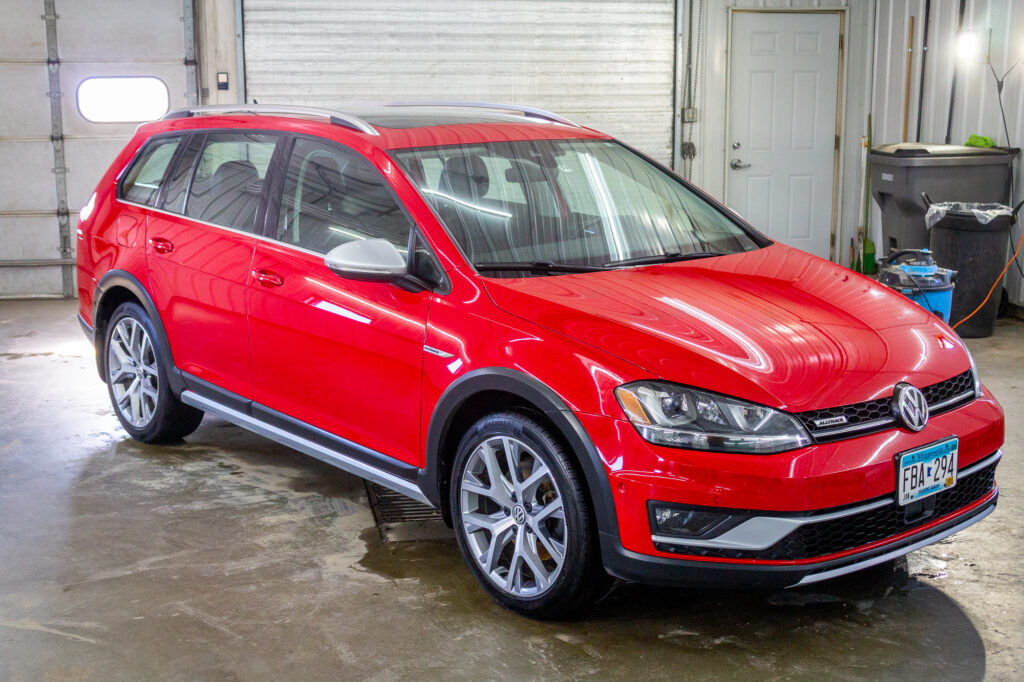
Final Step #10, the vehicle’s exterior vinyl trim is dressed, and protectant applied. Also, tire shine is applied to all tires. After completing all ten steps (and after four hours of work) the result is a beautiful car (see the before and after pictures below).